The Temp Sensor Disconnect/Out error on Traeger grills occurs when the controller loses signal from the temperature sensor, usually due to disconnected wiring. Solutions vary by grill model.
What Happens When This Error Occurs?
Depending on your grill model, a Temp Sensor Out error might appear on your controller as Temp Sensor Disconnected, Error: 0006, or ER06.
This error usually happens when your grill isn't receiving a signal from its internal temperature sensor (thermocouple or RTD), often because the sensor's wiring has become disconnected.
You'll also see a notification about this in the Traeger app.
What Causes This Error?
The controller is not receiving a signal from the thermocouple/RTD. This is usually due to disconnected wiring.
Resolving a Temp Sensor Error on D2 WiFIRE Grill
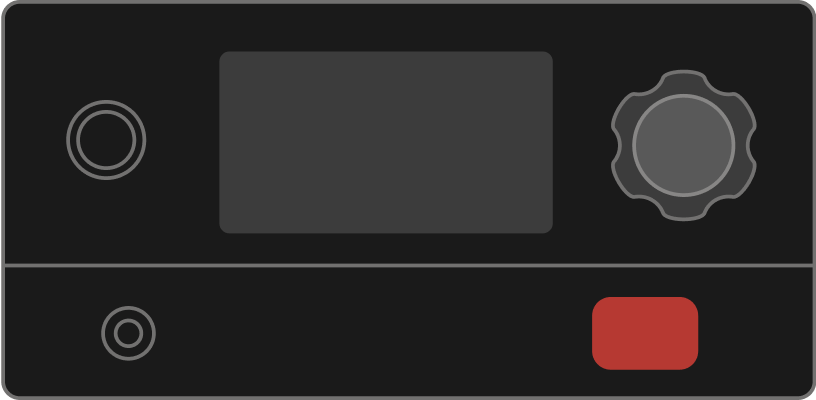
Applicable Grills
Steps
- Turn off and unplug the grill.
- Check the connection between the thermocouple (yellow connector) and the controller to ensure it is secure and has not become loose.
- Unscrew and pull away the grill controller from the hopper to expose the back of the controller.
- Disconnect and reconnect the thermocouple connector on the back of the controller.
- Gently pull to disconnect.
- Reconnect wiring.
- When reconnecting, make sure the + sided peg is inserted into the + connector.
- When reconnecting, make sure the + sided peg is inserted into the + connector.
- Plug in the grill, turn on the power switch, and turn on the controller.
- Confirm if reconnecting component connections caused the error to disappear. If the error is gone. it means the wiring connection was the cause of the error.
- If any of the error continues after reconnecting and ensuring they are inserted into the proper spot, Contact Customer Support.
- If the controller display goes black or is having issues, please see the D2 Controller Display Issues article for further assistance before replacing the controller.
- After reconnecting the component, screw in the controller to the grill.
Resolving Error 0006 Temp Sensor Not Detected on a Touchscreen Grill
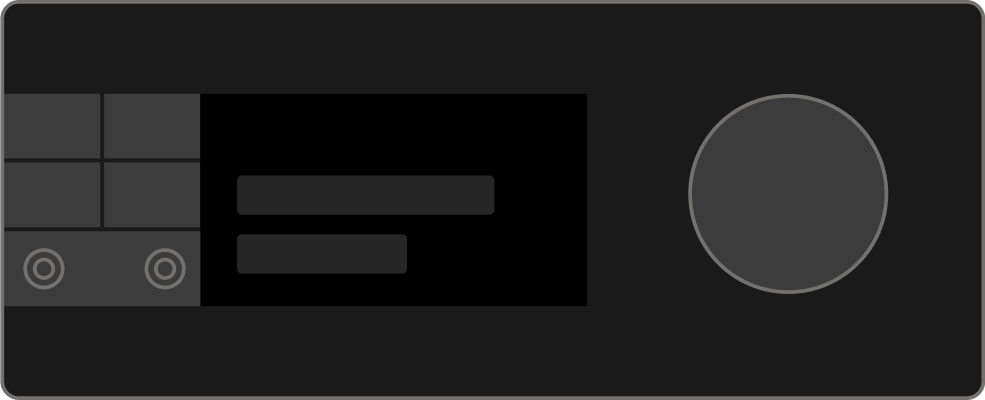
Applicable Grills
Steps
- Check your grill's firmware to make sure it's on the latest version.
- Ensure the grill is cool and finished with its shutdown cycle.
- Run a SELF-TEST.
- On the controller display, go to MENU>MAINTENANCE & CARE>SELF-TEST. The test should take about 10 seconds to complete.
- If the thermocouple test fails, contact Customer Support.
Resolving ER06 on a Woodridge WiFIRE Grill
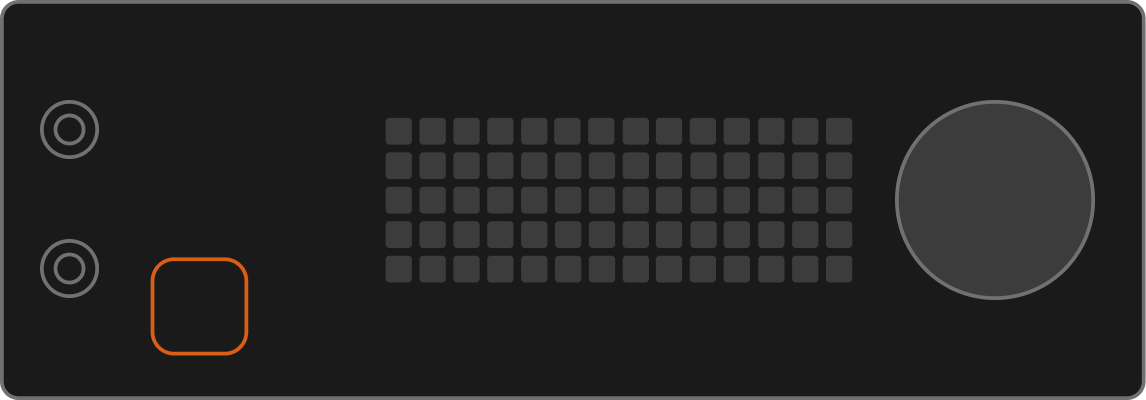
Applicable Grills
Steps
Tools Needed:
- Phillips Screwdriver
- Wrench that fits a #8 nut (typically 11/32")
1. Prepare the Grill
- Ensure the grill is cool and finished with its shutdown cycle.
- Ensure there are pellets in the hopper, add pellets to the hopper (if needed).
- Open grill and remove the grates, drip tray, and manifold.
2. Access the Grill's Controller
- Turn off and unplug the grill from power.
- For the Woodridge Elite, remove the 4 screws from the filler panel below the controller, remove the panel and set aside.
- Open the hopper lid and remove the x2 screws from the controller trim.
- Remove the two screws from the lower portion of the controller at the front of the grill and carefully lift up the controller and trim belt.
3. Check the RTD Wire Harness Connection
Now that there is access to the wire harness that connects the RTD to the controller, let's make sure it is secure.
- Disconnect and reconnect the RTD wire harness (black/white) ensuring a solid connection.
- Once this connection is secure, move to checking the RTD connection to the back of the controller below.
4. Securing the RTD Connection to Back of Controller
Below are the final steps in checking for a temp sensor disconnection.
-
First, we will need to gain access to the back of the controller. Using a wrench that fits a #8 nut (typically 11/32"), remove the x1 nut (8-32) with the lock washer from the threaded stud on the back of the controller trim. Remove the ground lead wire from the stud.
- Remove the x2 screws (8-32 X 1/2") from the top of the controller and pull it upward to separate it from the trim.
- Ensure the RTD is fully connected to the back of the controller motherboard.
- Reassemble grill and turn on.
- If error persists, contact customer service.
- If after replacing the RTD the error persists, contact customer service.
Resolving ER06 on a Westwood Series Grill
Use the steps below to access and check the temperature sensor for disconnection.
1. Prepare the Grill
- Ensure the grill is cool and finished with its shutdown cycle.
- Ensure there are pellets in the hopper, add pellets to the hopper (if needed).
- Open grill and remove the grates, drip tray, and manifold.
2. Access the Grill's Controller
- Power off and unplug the grill.
- Remove the x6 screws from the hopper service panel on the side of the hopper in the following order:
- Remove x2 screws on the back of the panel by the vents first.
- Remove x2 screws on the bottom of the panel second.
- Remove x2 screws on the side of the panel last.
- Remove x2 screws on the back of the panel by the vents first.
3. Check the RTD Wire Connection
-
Disconnect and reconnect the RTD (Temp Sensor Probe) at the black Molex connection and from the circuit board to ensure a solid connection.
Inline connector Controller connection - Plug the grill in and power on.
- Set temp and try to ignite the grill again.
- If ER06 still displays, contact customer service.