Step-by-step instructions on how to replace the U-burner and a burner crossover on your Traeger Flatrock 3-Zone grill. Includes part numbers, required tools, and estimated time of completion.
Applies to: Flatrock 3-Zone
Part #: Part #: FTK0006 - U-Burner FTK0007 - Burner Crossover Tube
Tools Needed
- Phillips Screwdriver
Estimated Time to Complete
- 5 minutes
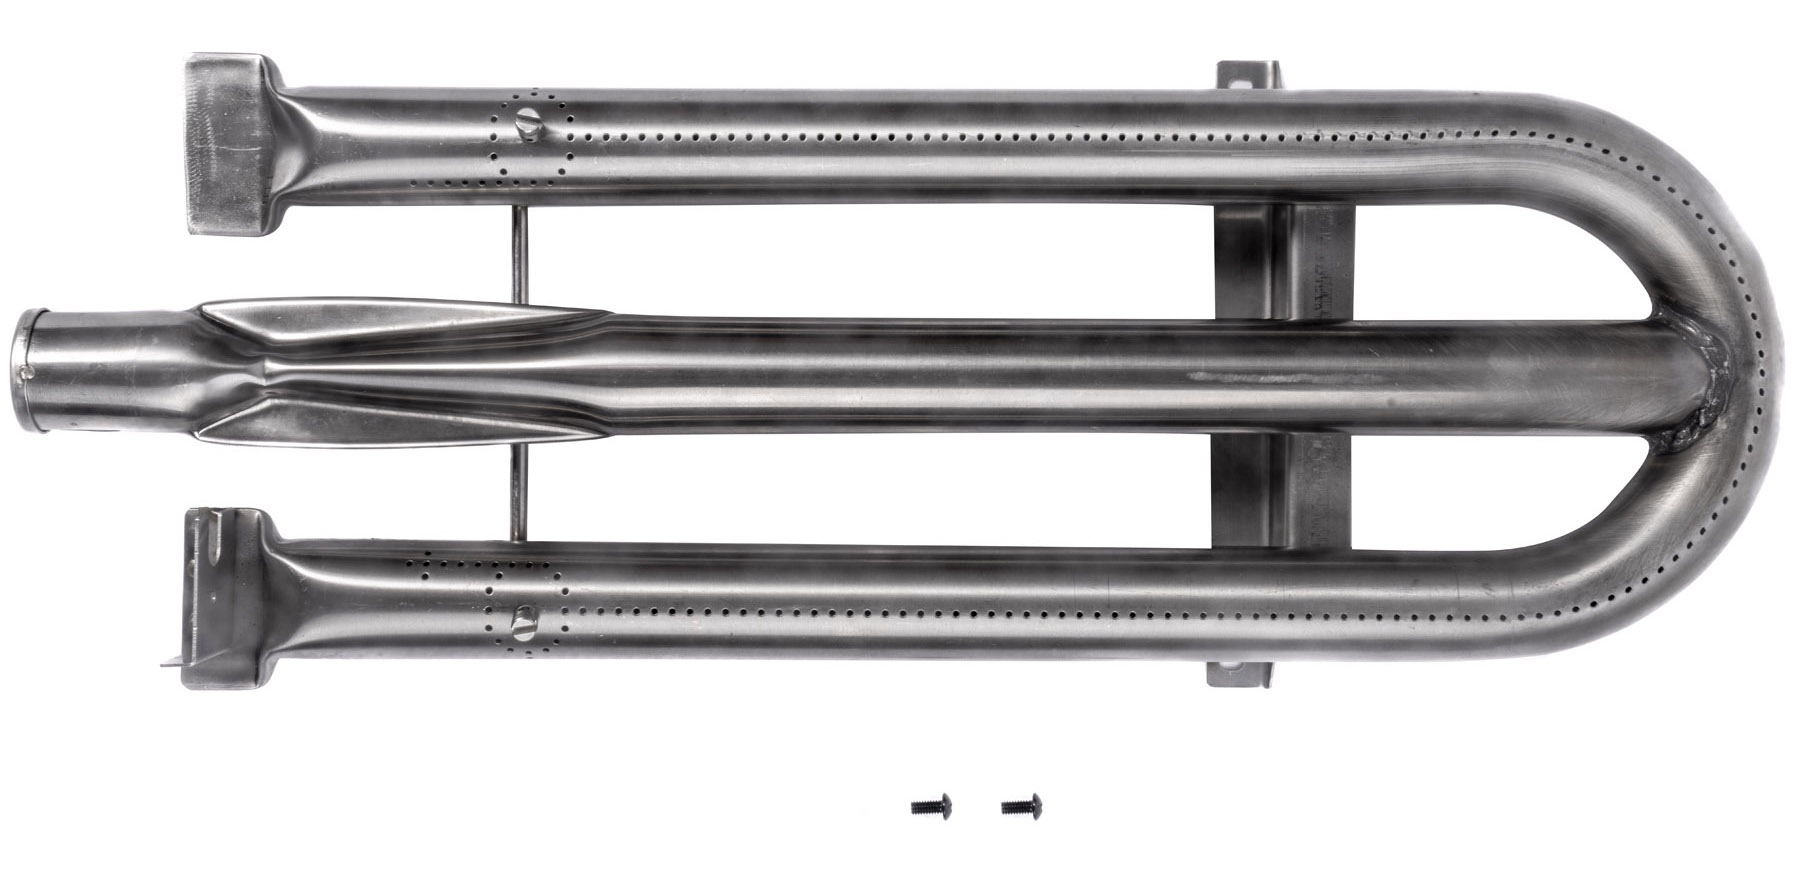
U-Burner Replacement Steps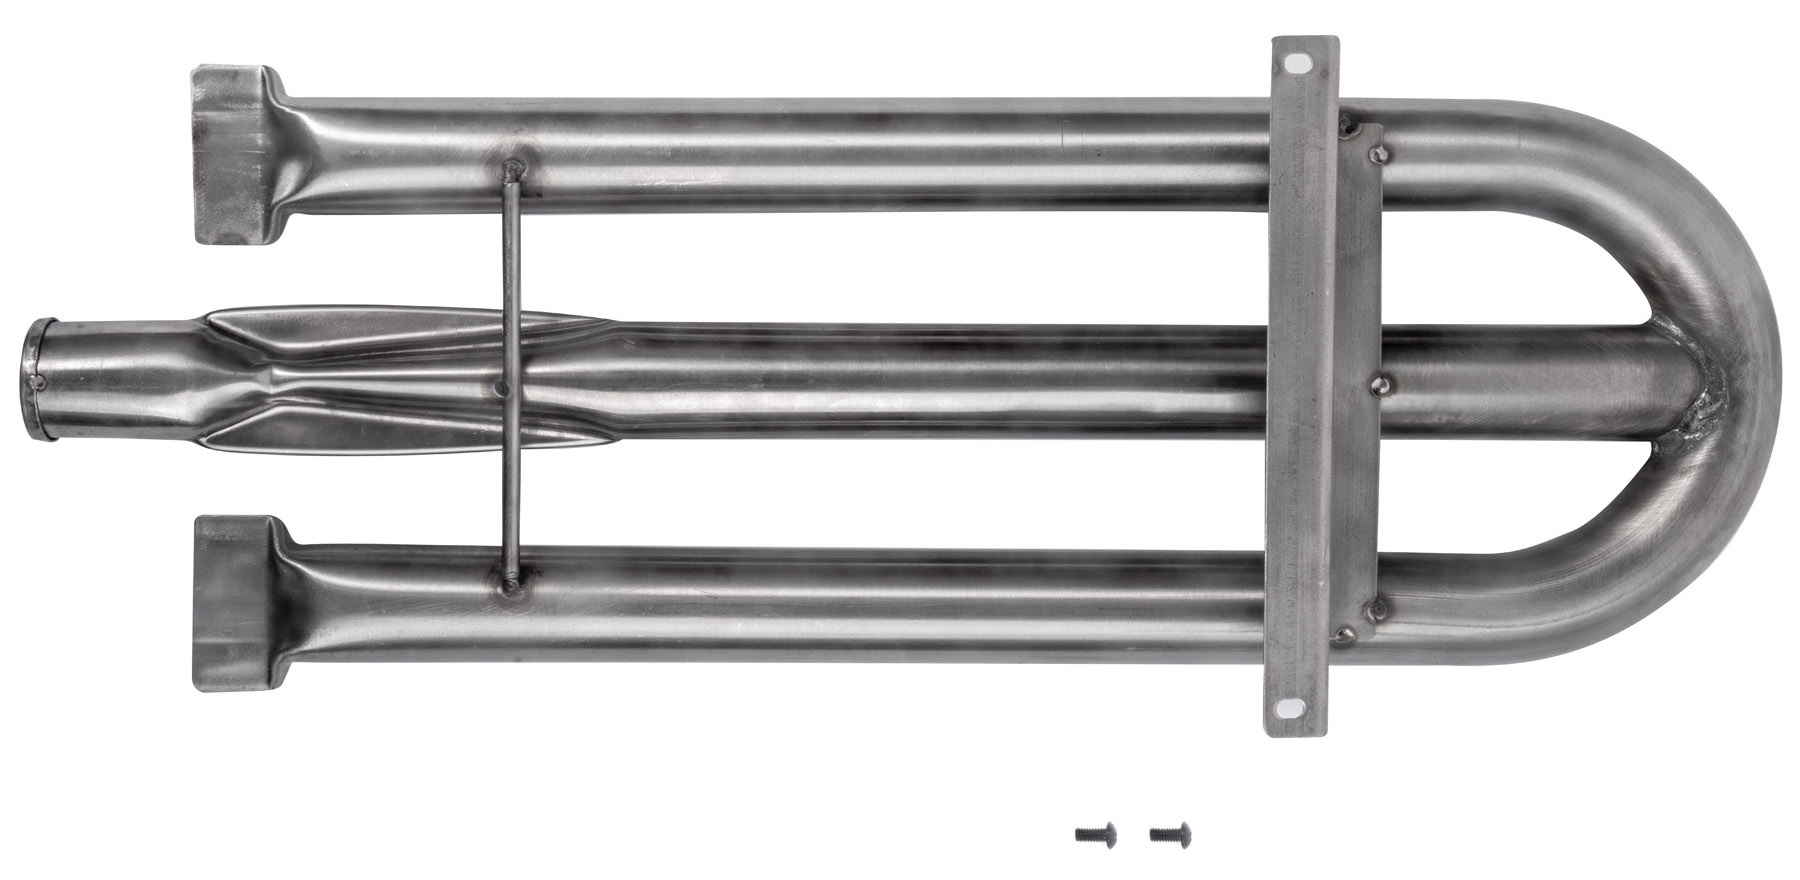

Before Performing Any Replacement Steps:
- Turn burner knobs to OFF position, close the propane tank, and disconnect the regulator
- Unplug the grill from power
- Open the lid and remove the cooktop
- Remove the screws holding the ignitor and the flame sensor in place.
-
Remove the left and right screws that hold the U burner in place.
Pro Tip: If replacing the center U burner, also remove the nut underneath the grill. - With the flame sensor and ignitor out of the way, slowly slide the old U Burner out.
- Gently slide the new U burner into place, and line it up with the 2 screw holes on the bottom of the grill cavity.
- Screw in the left and right sides of the U burner
-
Reinstall the flame sensor and the ignitor.
Important: The ignitors need to be pointing toward the burners and the tip should be between 4.5 and 5.5 mm.
- If an ignitor is too far, it won't spark or only one of the three ignitors will spark with every click since they would require more charge.
- If an ignitor is too close, the spark will be weaker since it requires less charge to bridge the gap between the ignitor and the burner.
- Reinstall the flame bridge.
- Test the ignitors by plugging the grill into power and pressing the Ignite button. See step 6.1 to see if the ignitor placement needs to be readjusted.
- Replace the cooktop and reconnect the regulator hose to the propane tank.
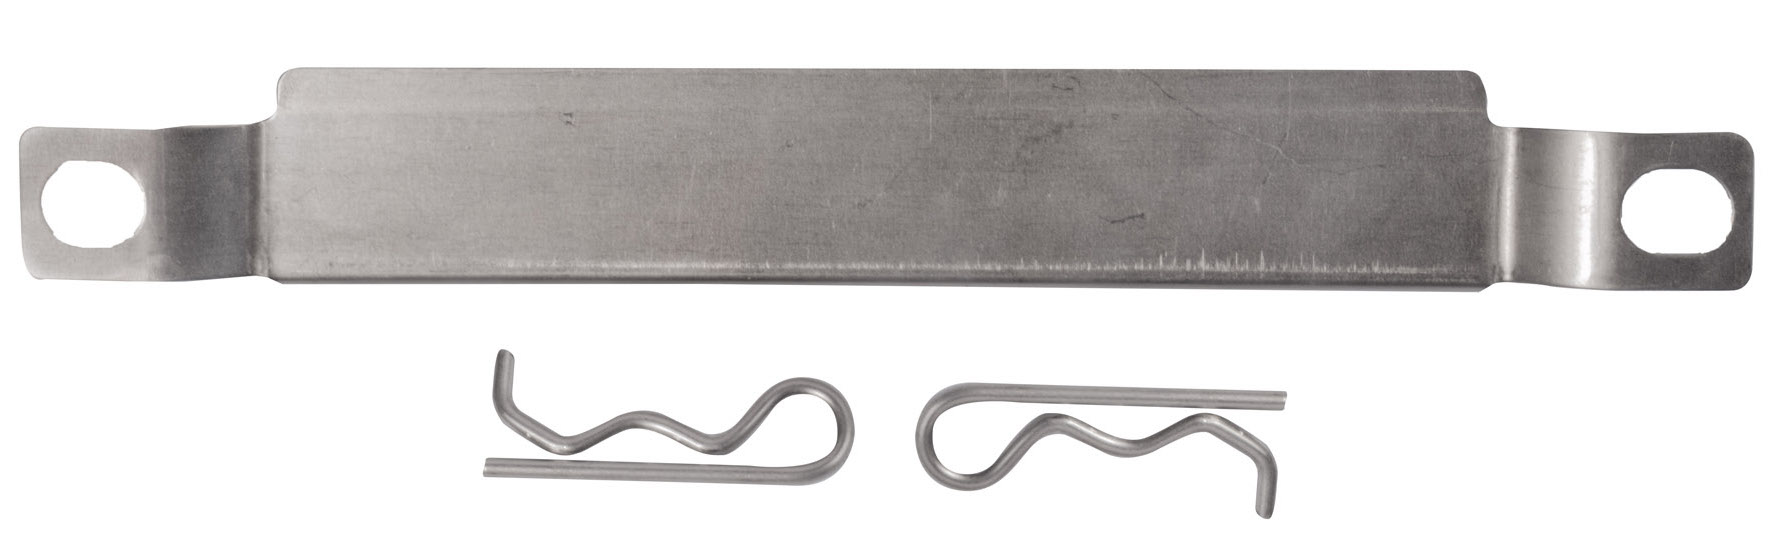
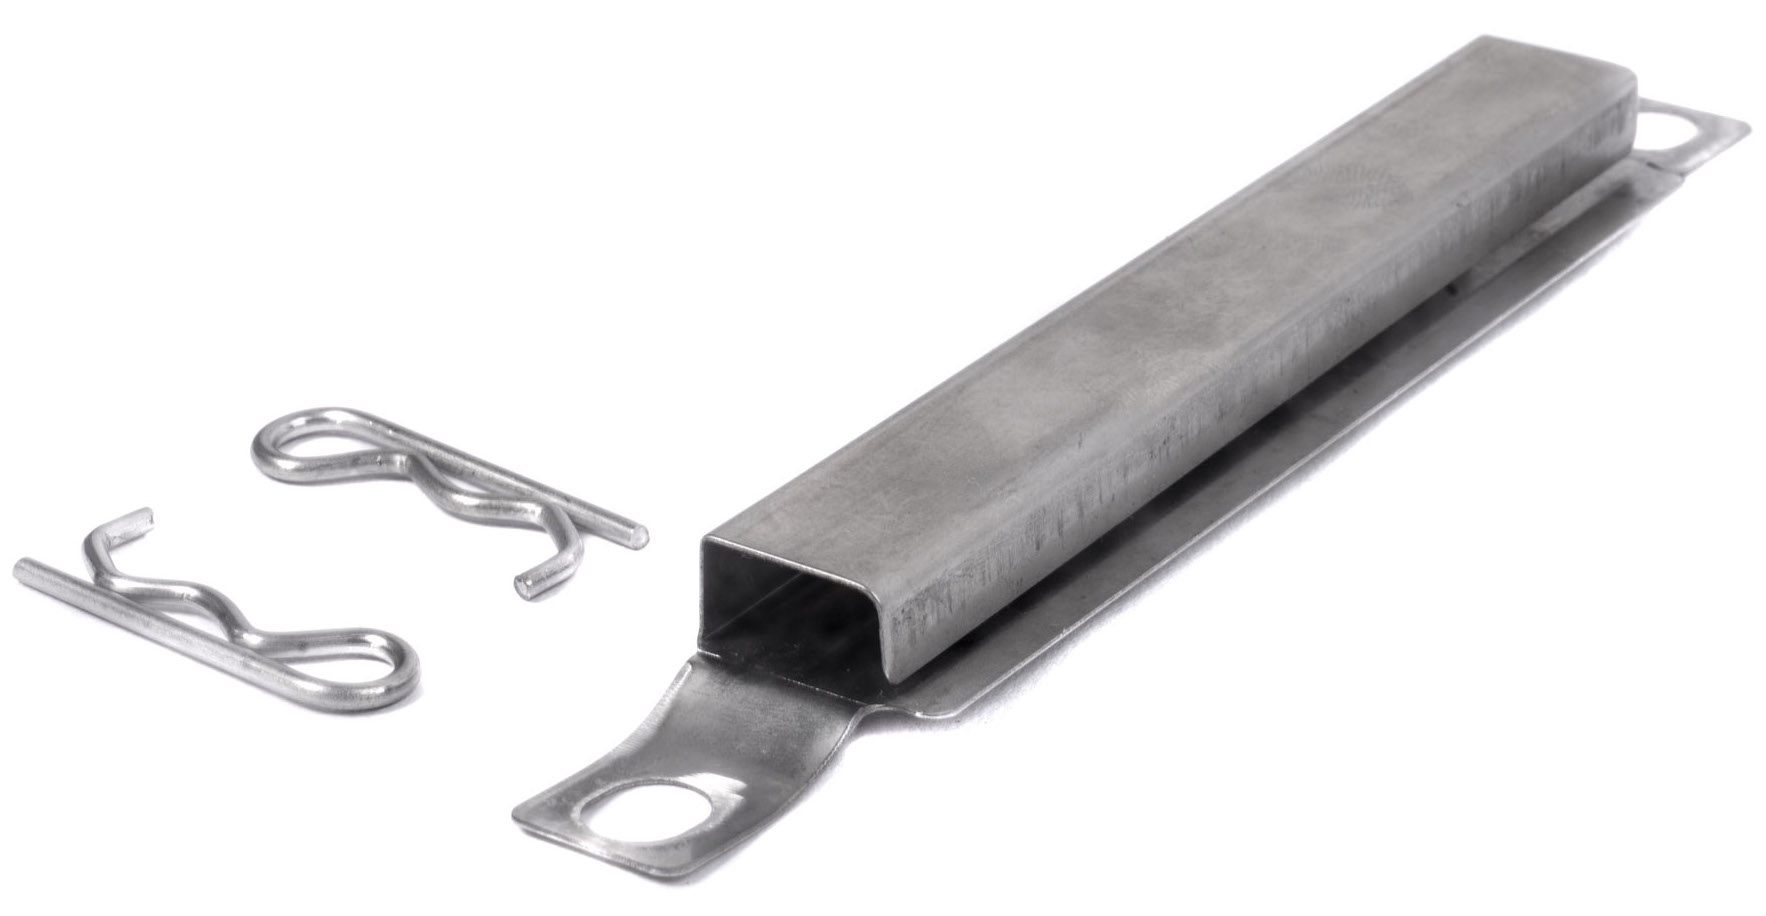
Burner Crossover Tube Replacement Steps
Before Performing Any Replacement Steps:
- Turn burner knobs to OFF position, close the propane tank, and disconnect the regulator
- Unplug the grill from power
- Open the lid and remove the cooktop
- Remove the cotter pins holding the old burner tubes in place.
- With cotter pins removed, remove the old burner tube.
- Slide the new burner tube into place and set it on the grooves.
- Lock the new tube in place with 2 cotter pins.
- Replace the cooktop and reconnect the regulator hose to the propane tank.
Still need help?
If you need help replacing your part, or if you run into additional concerns after replacement, contact Traeger Support. We're ready to help 365 days a year.
If you need help replacing your part, or if you run into additional concerns after replacement, contact Traeger Support. We're ready to help 365 days a year.